Hengshi Documentation
Please follow the steps below to obtain the content of local files
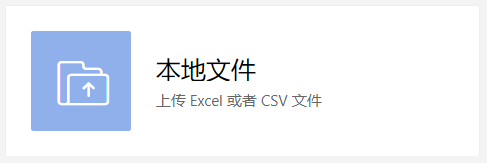
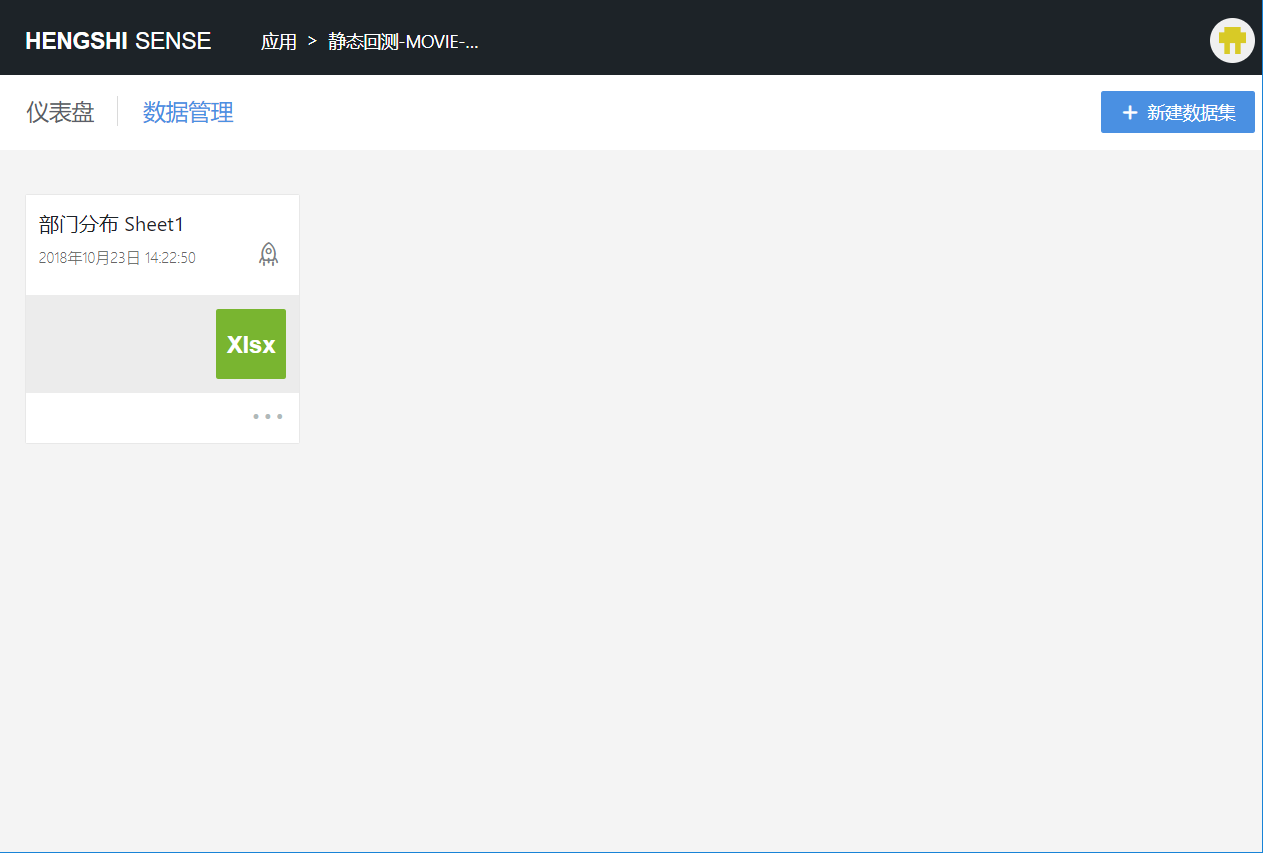
Step 1: Go to the dataset page, click to create a new dataset, and select Local File
Step 2: Follow the directions in the image to upload the file
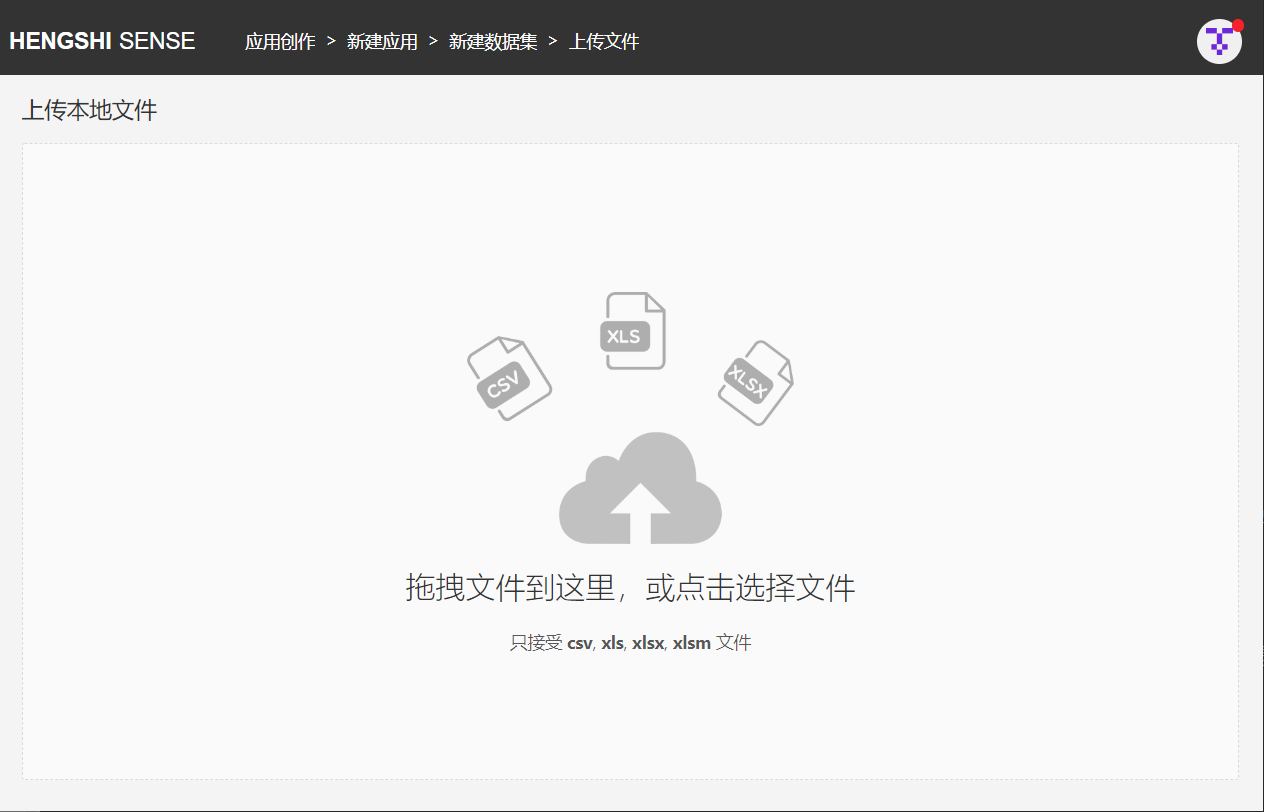
Supported file types include:
- csv
- xls
- xlsx
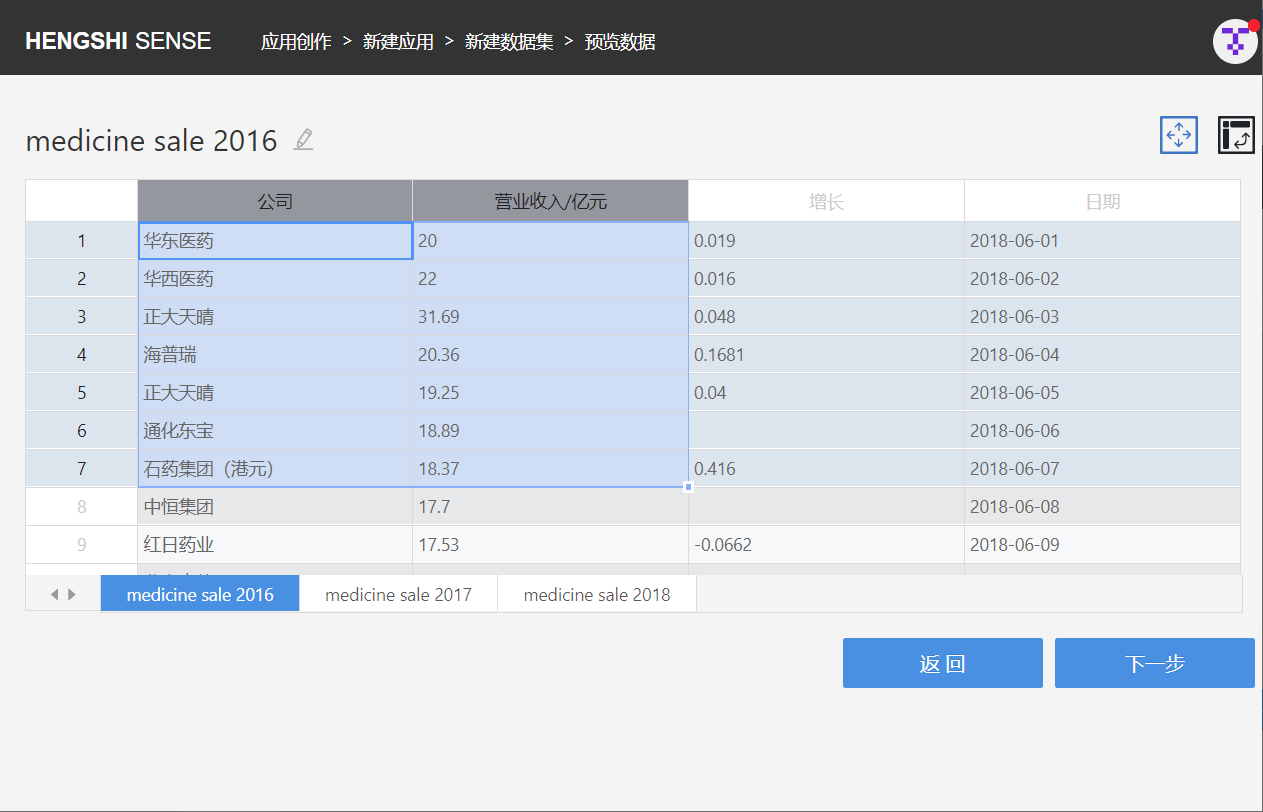
Step 3: Preview File
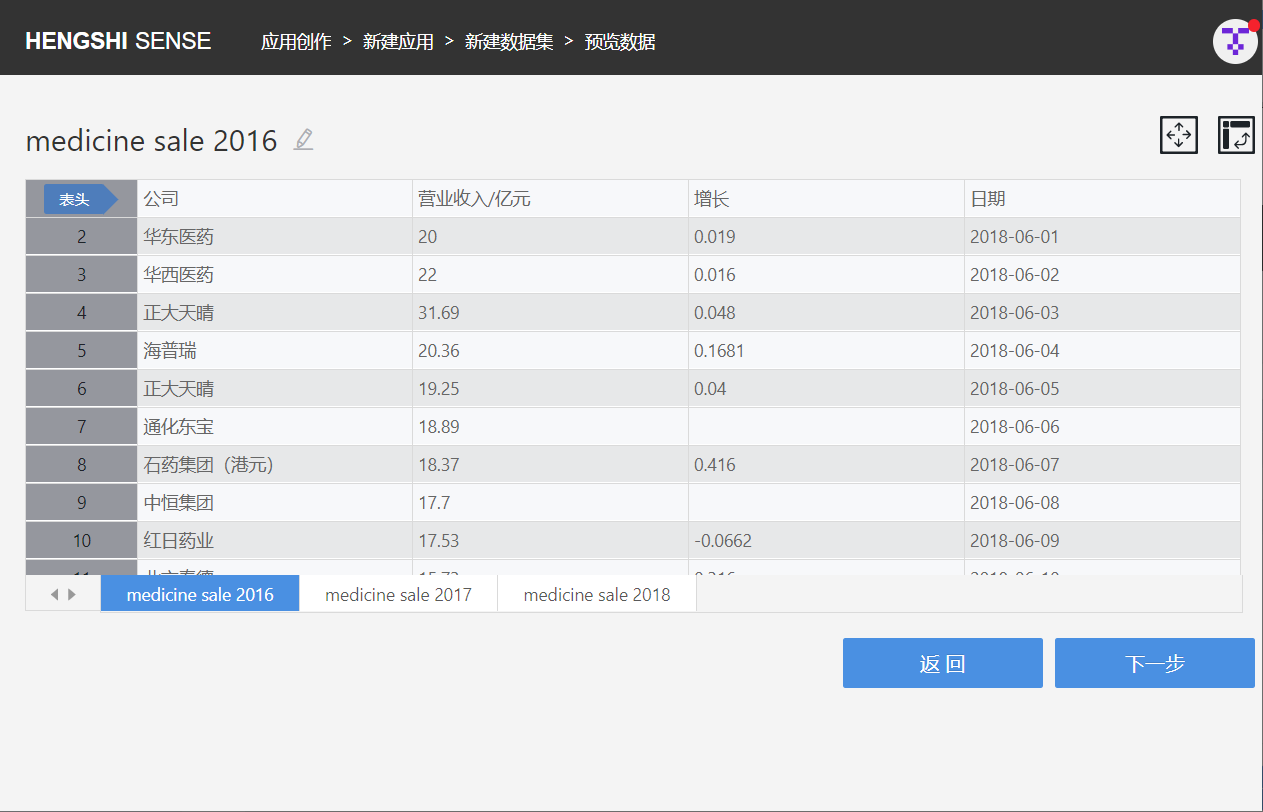
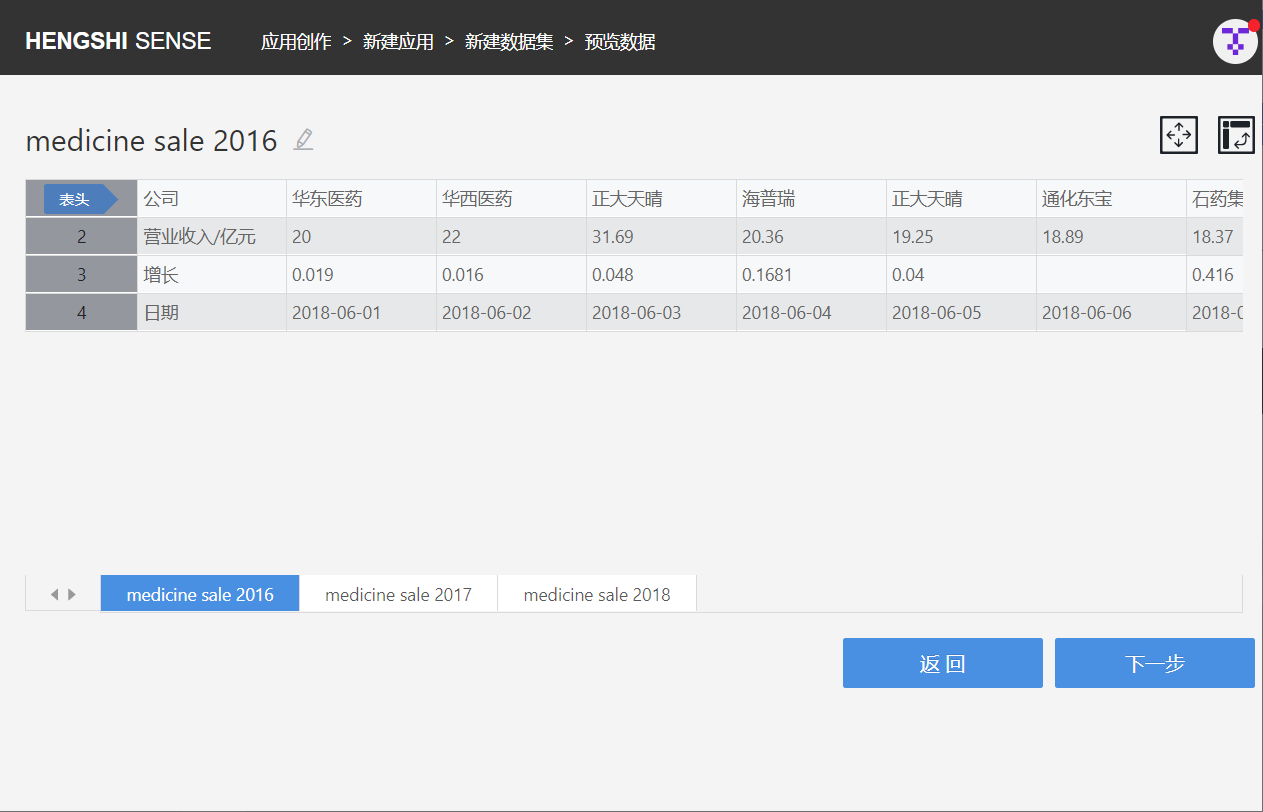
If it's a multi-sheet file, on this page, you can select a sheet to preview, view, and import; currently, for multi-sheet files, after selecting and importing one sheet, you can choose to import other sheets or complete the import.
When previewing a file, you can "Set Headers": choosing a row as the header, and during the next step of setting up the data structure, this will be the standard.
You can also perform operations such as Select Rows and Columns and Transpose Rows and Columns. The Select Rows and Columns operation is used to select a certain range of the file as the Dataset for import. Transpose Rows and Columns is used to utilize the file's rows as columns.
Select Rows and Columns
Transpose Rows and Columns
Files with more than 1000 rows are not allowed to transpose rows and columns.
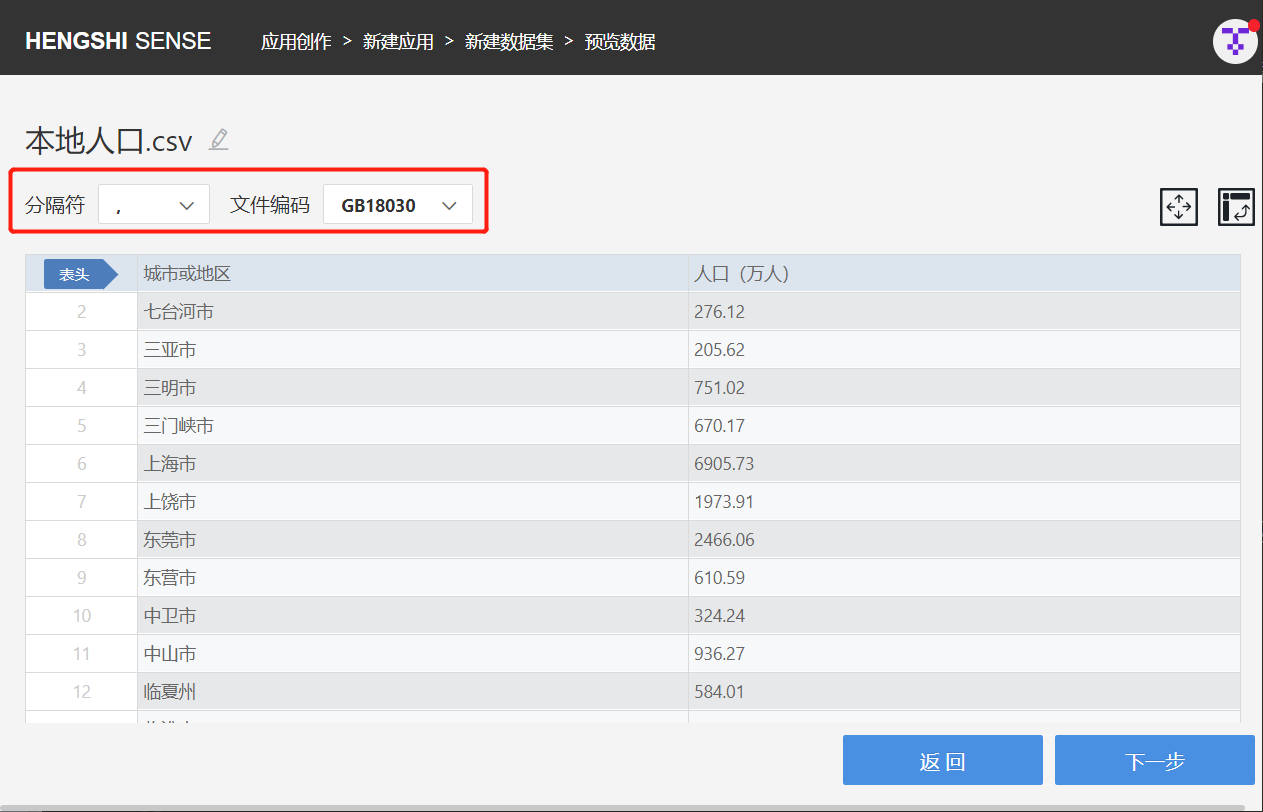
- For CSV files, you can also select the file's column delimiter and file encoding.
Step 4: Set Data Structure
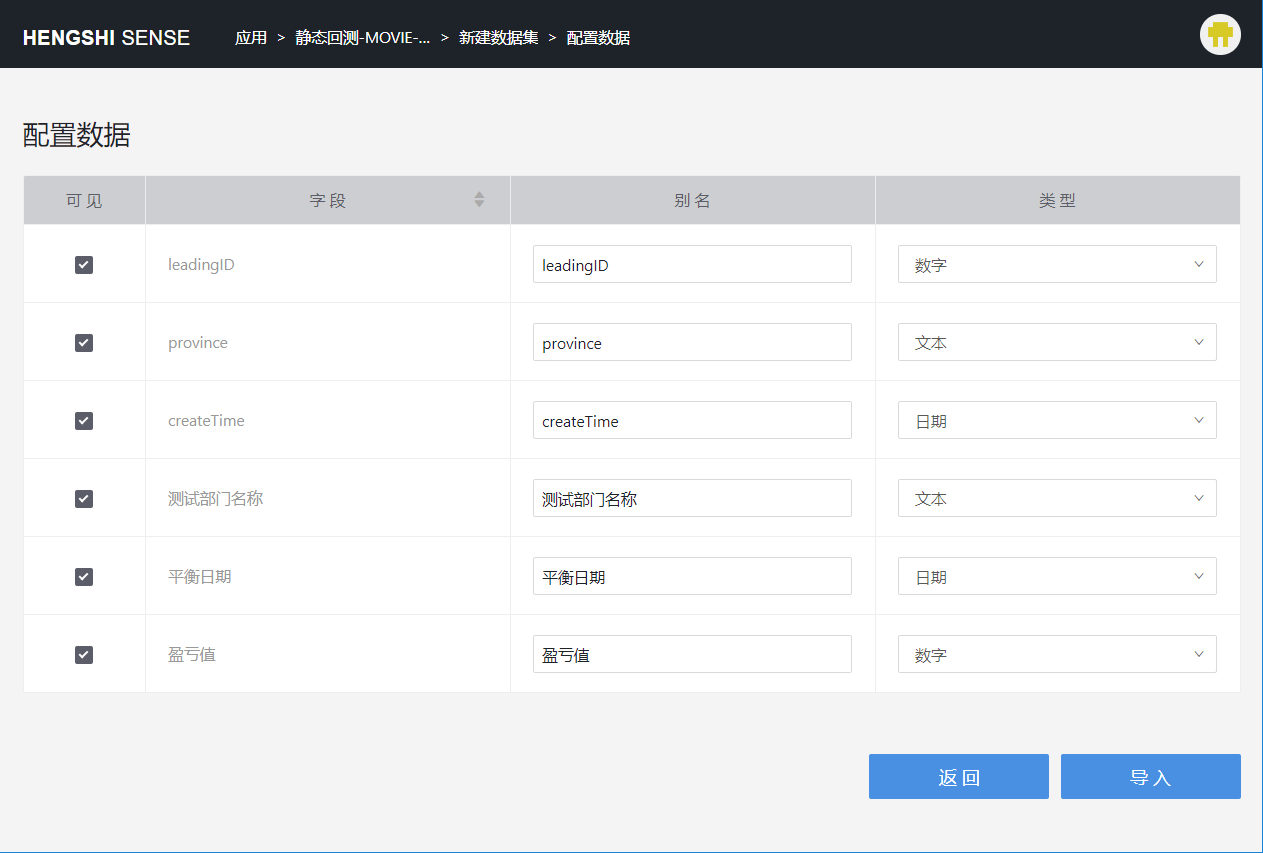
On this page, you can custom set the fields in the file header. The main settings are:
- Enable/Disable: This function is particularly useful for datasets with a large number of columns. The columns that are unchecked will appear as disabled columns in the dataset field management page.
- Alias: You can set an easy-to-understand alias for the field that is close to the business to facilitate subsequent data exploration.
- Type: The Sense system has already identified the field type based on the original data source or some rules (for file uploads and other data source types as well as some special fields). However, users can still choose the field type according to their own needs.
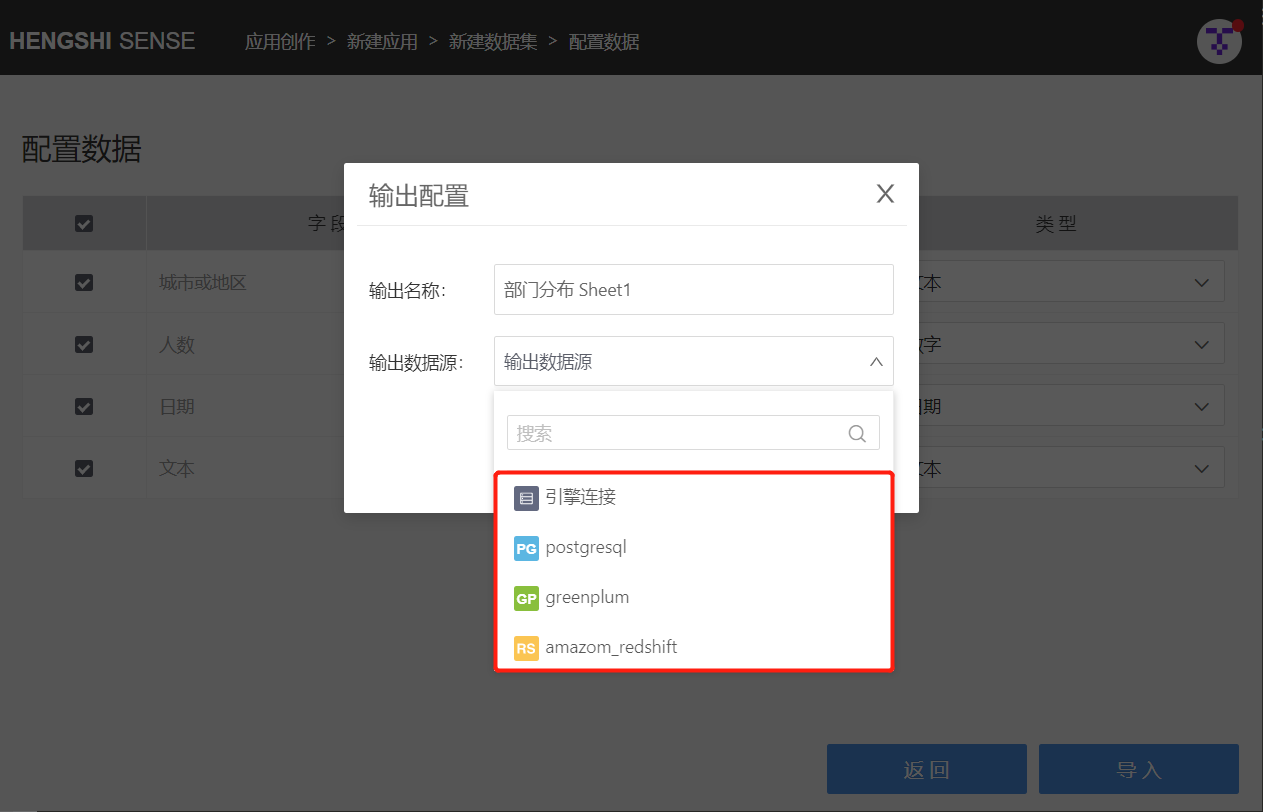
Step 5: Import
This is the final step. After clicking Import, you can choose the output data source.
After the import is successful, you will enter the dataset list page, where you can see the dataset just created from the local file.
Appendix: Creating Connections That Support File Uploads
When creating a GreenPlum data source, PostgreSQL data source, or Amazon Redshift data source connection, check the box for support uploading files to the specified path and set up the output destination. This will allow you to select this connection as the output data source when uploading local files.